Centerboard Modification ’99 26 X
CONCEPT:
A vertical thin CB does not produce sufficient resistance to prevent the X from crabbing. Deploying the CB horizontally will expose 76 1/2” x10” (however much resistance that creates) and will keep 4” in the CB trunk for support.
This CB is designed to be suspended, not rigidly fixed, from a telescoping 1.5” SS welded tube (piston) which slides in a1.5” SS Schedule 40 pipe (cylinder). The sides of the trunk are used for lateral support much like the stock CB wedges itself for support. The CB can remain completely in the trunk for fast motoring and beaching or be lowered any distance up to 10”.
Here is a parts list and pictures of how I did the mod.
1 piece @ $23.15/piece
Stainless T-304
Pipe Schedule 40
1.5" nom. (1.9" OD x 0.15" Wall x 1.61" ID)
Cut to: 12"
-------------------------------------------------
1 piece @ $27.63/piece
Stainless T-304
Seamless Tube
0.75" x 0.065" x 0.62"
Cut to: 24"
-------------------------------------------------
1 piece @ $8.53/piece
Stainless T-304
Round
0.5"
Cut to: 24"
-------------------------------------------------
1 piece @ $39.39/piece
Stainless T-304
Welded Tube
1.5" x 0.12" x 1.26"
Cut to: 36"
-------------------------------------------------
Fibers Hair body putty. (Not Bondo, it absorbs water)
Fiber Strand
Ultra Glass
Mat
Cloth
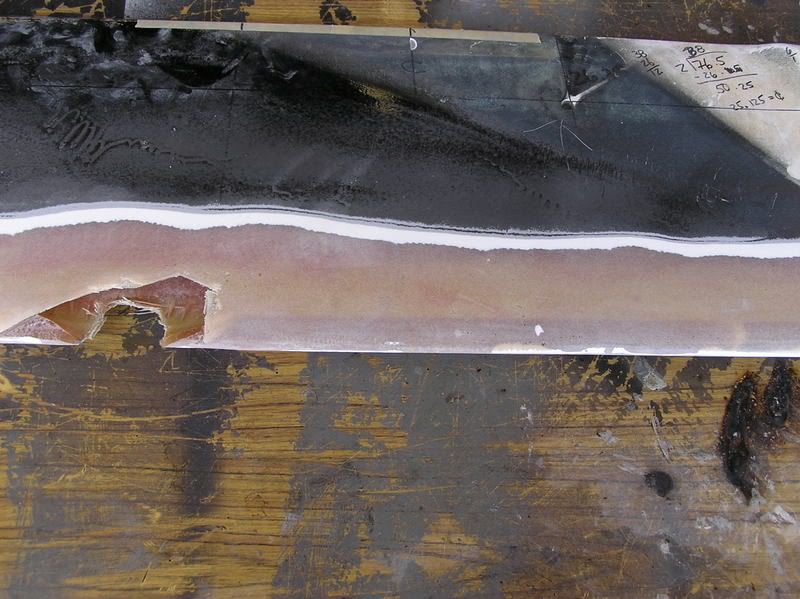
Thanks to Billy for measuring the CB. My CB is 76 1/2”x14”x1 9/16” It weighs 26lbs.
My stock board. The pivot pin wore a huge hole into the board.
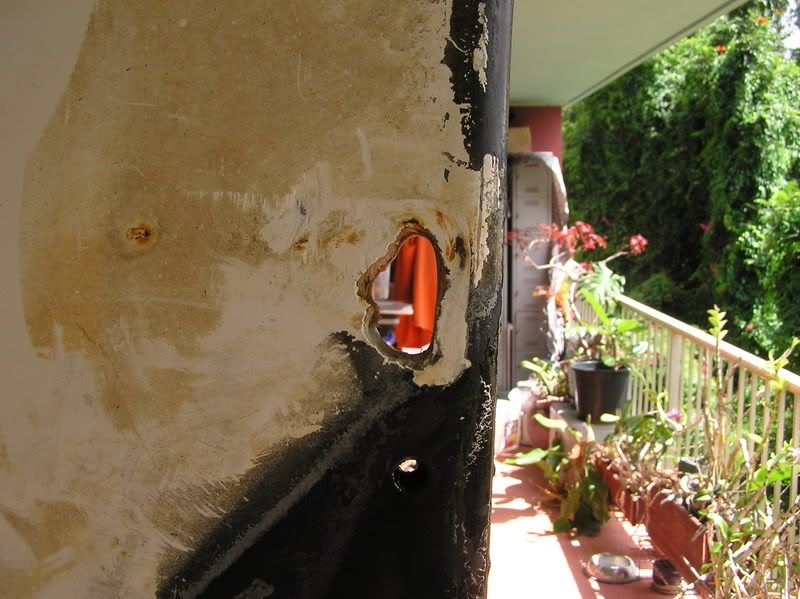
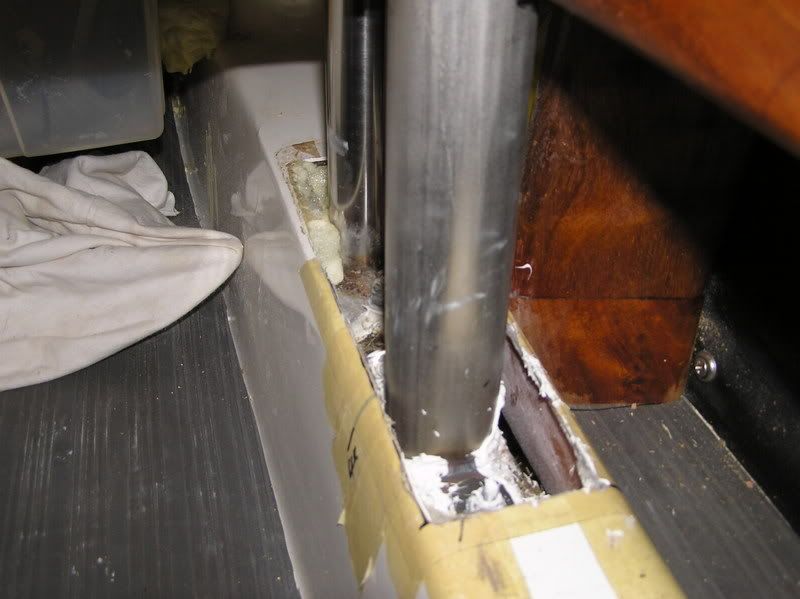
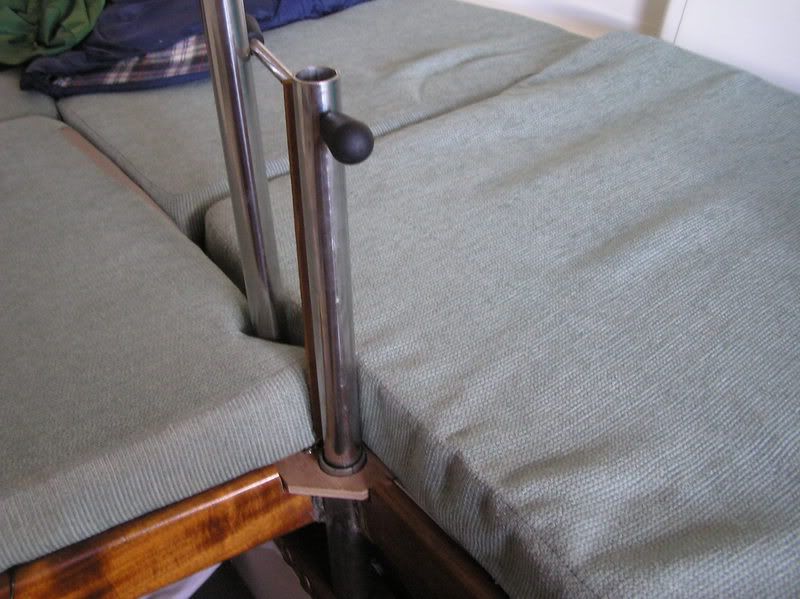
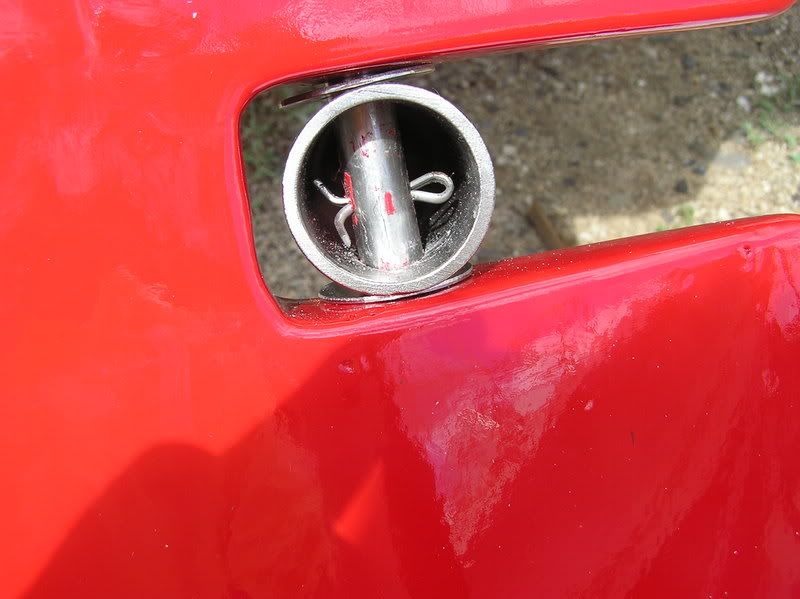
Here is the 1.5” thru hole inside the cabin on top of the CB trunk. This hole is centered 4” from the stern bolt holding the compression post. Try to get the hole in the middle of the trunk (mine isn’t). There’s about 1.9”-2.0” of space at this point in the trunk. After this point the trunk narrows and conforms to the top of the CB. I used a dremel to enlarge to 1.9+/-”.
I reinstalled the CB in order to mark the exact location for the piston tube.
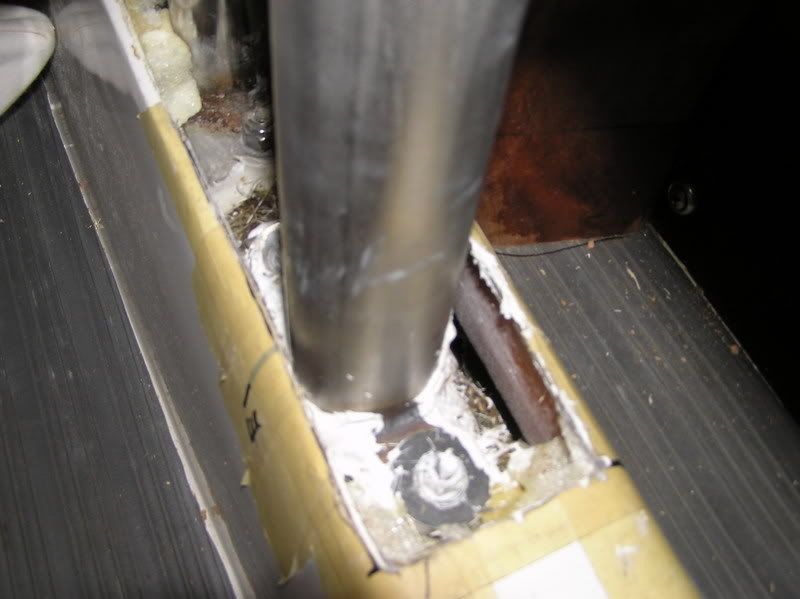
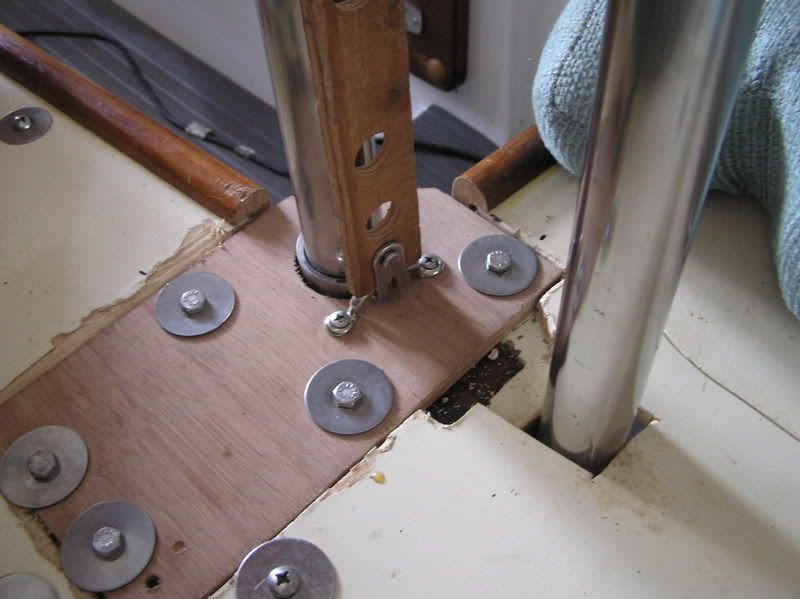
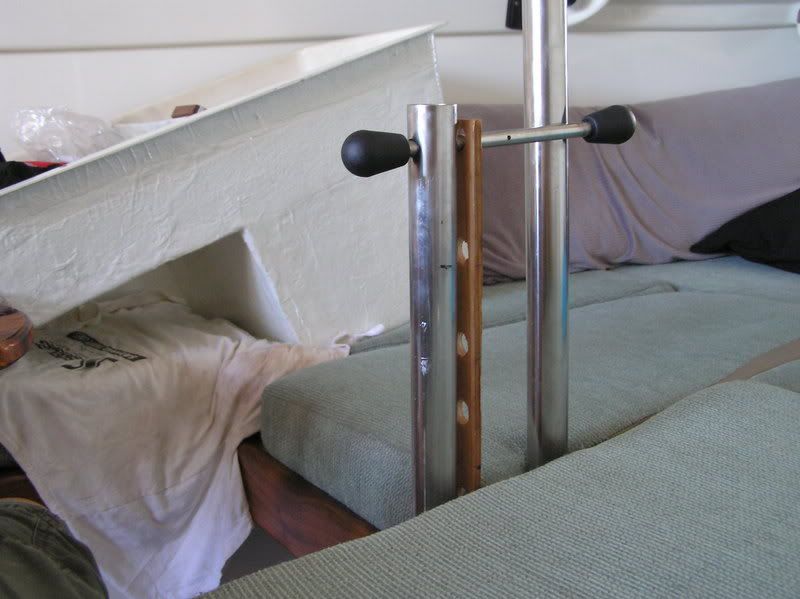
I’ve installed the Schedule 40 pipe onto the centerboard trunk. You see both the compression post and the cylinder pipe.
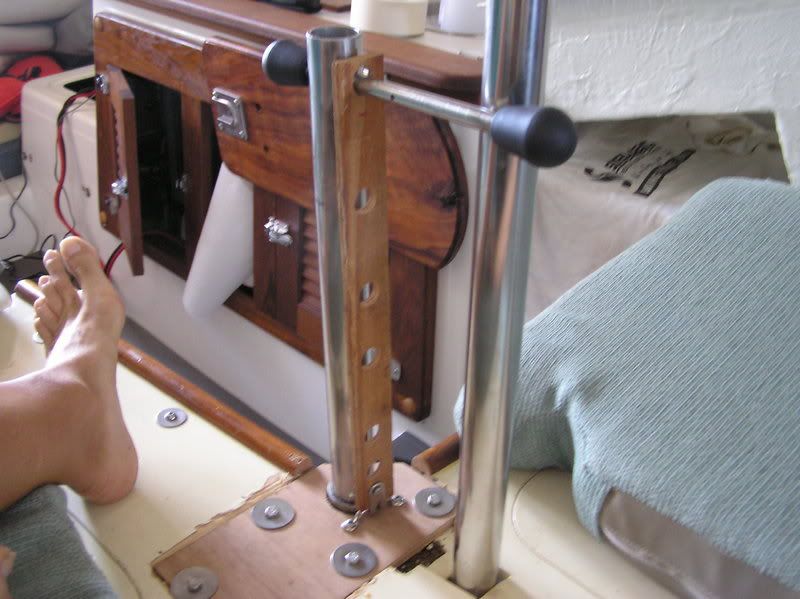
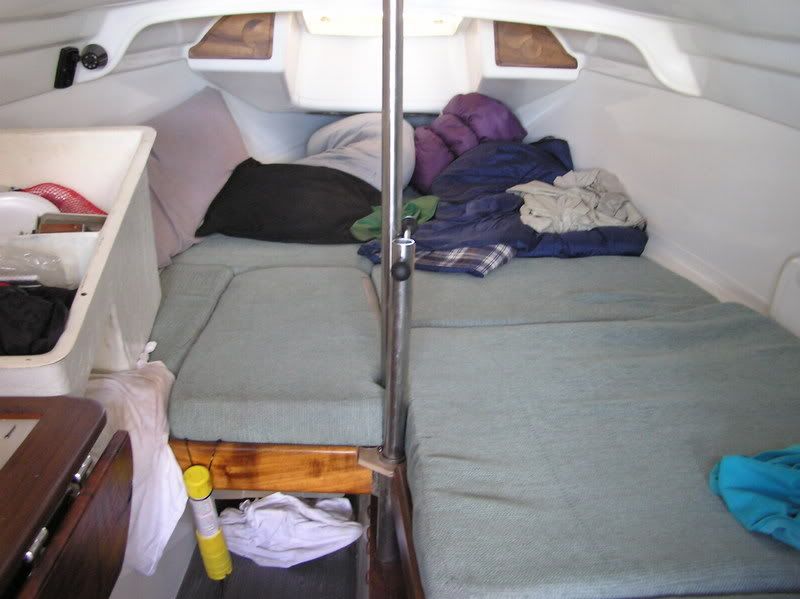
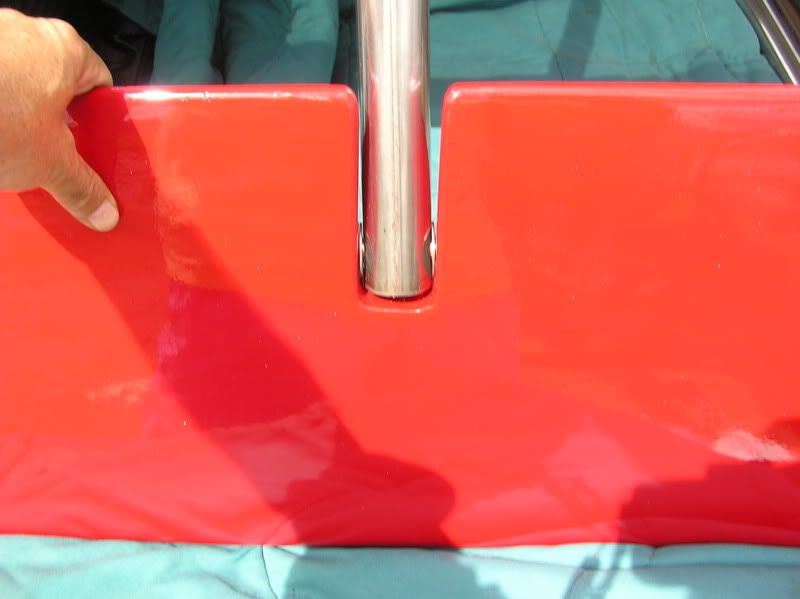
This is skipping ahead and shows how it looks in the cabin.
CENTERBOARD
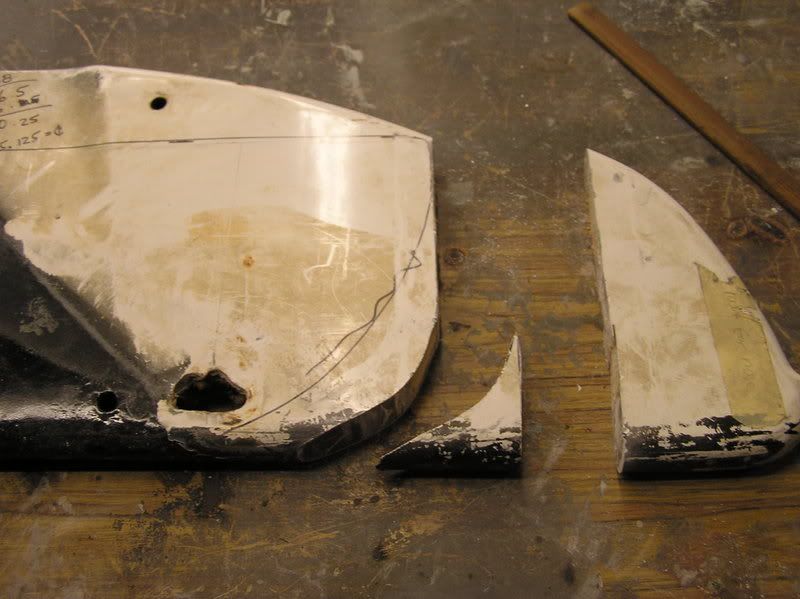
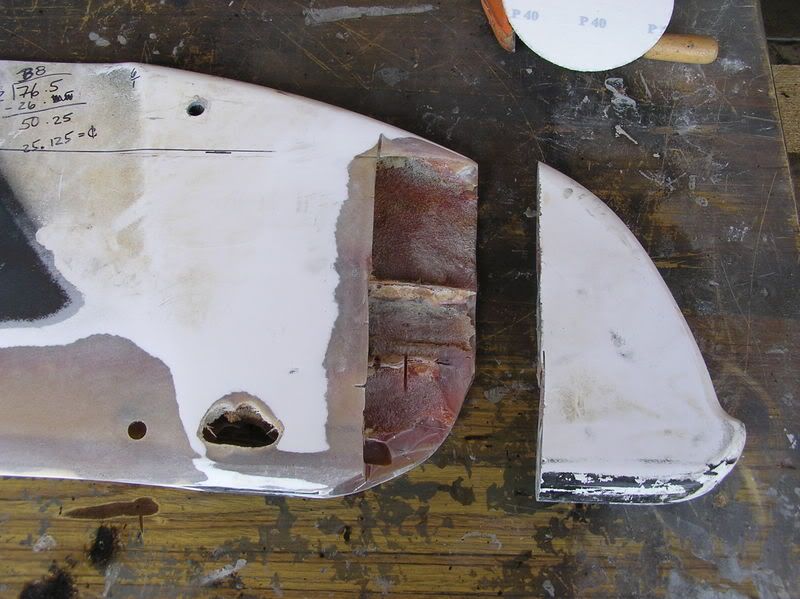
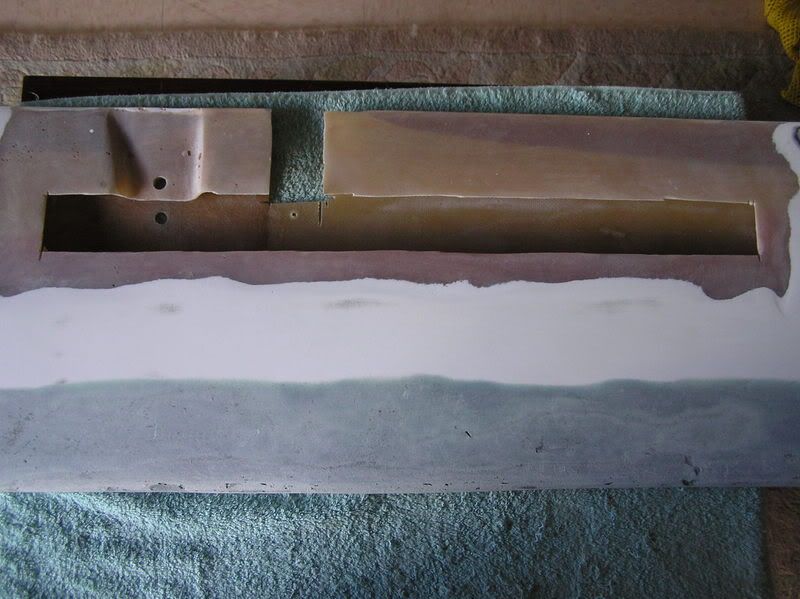
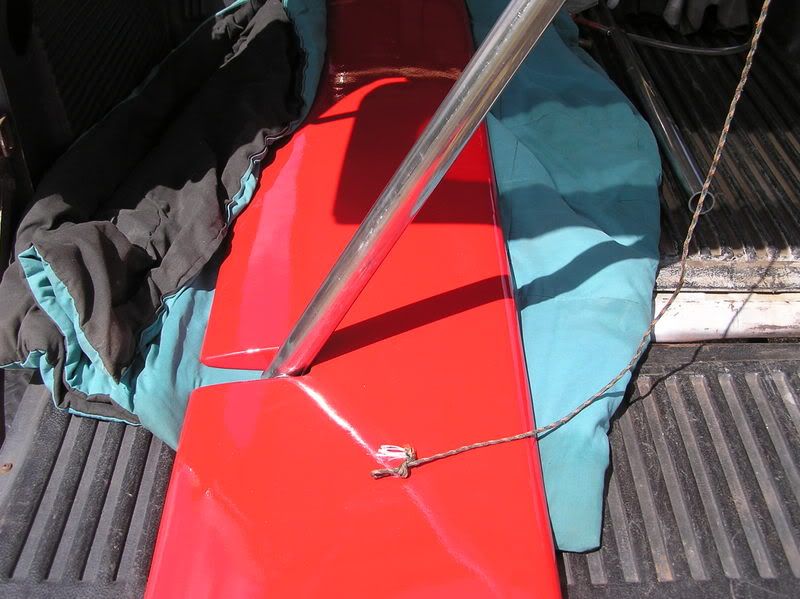
I cut the nose from the CB. I’ll epoxy it into the boat to reduce any turbulence at the front part of the CB trunk.
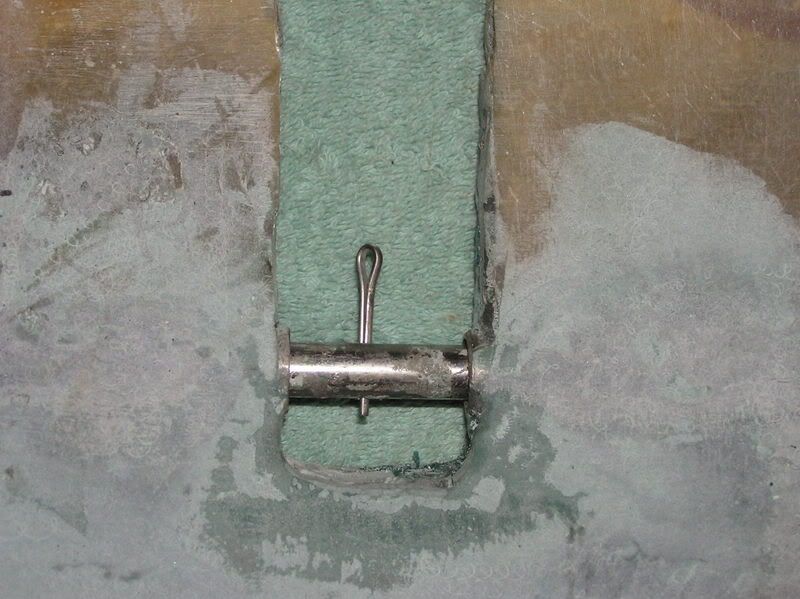
I’ll fill the CB to be 1 9/16+/-” all along the bottom. Then I’ll install the new CB hanger. I’ll use the SS tube and the SS rod for that. The hardware is imbedded into the CB with mat and faired and glassed with 3 layers of cloth. The rod can slide back to release the CB for removal. A cotter pin prevents the CB from coming off the rod.
I made a section at the nose for body putty. I’m going to reshape that part of the board. I also sanded off the gel coat for better fiberglass adhesion. The nose piece is 4.5”X10”
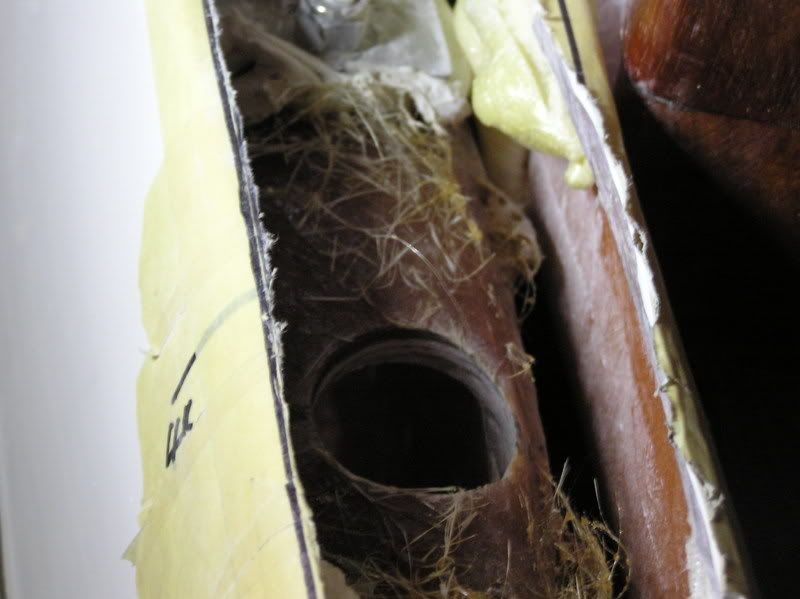
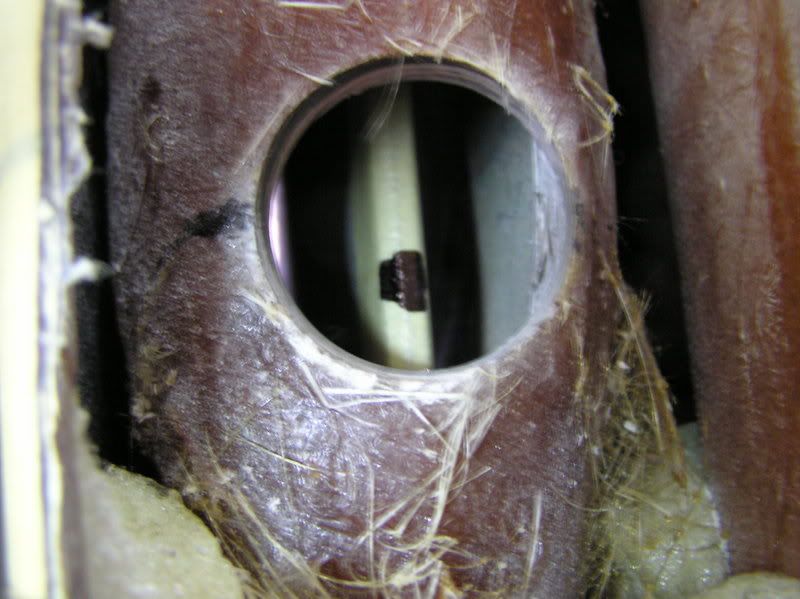
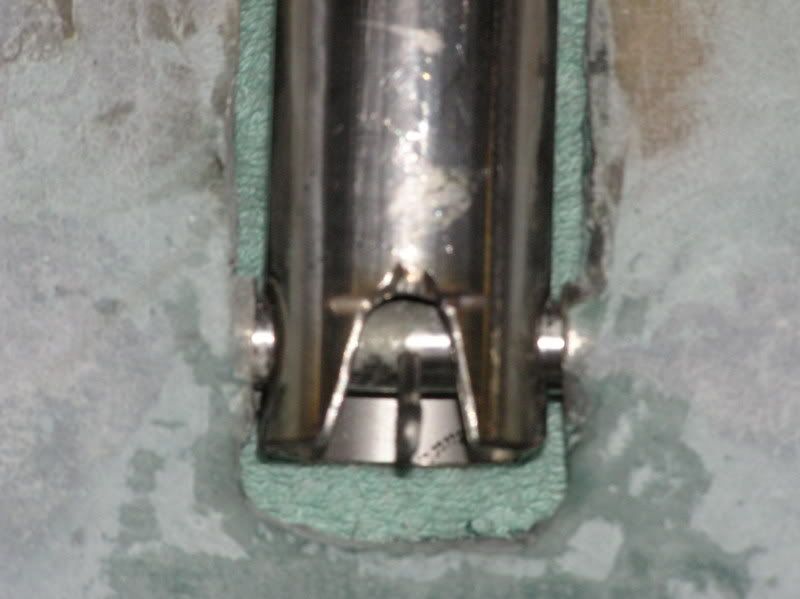
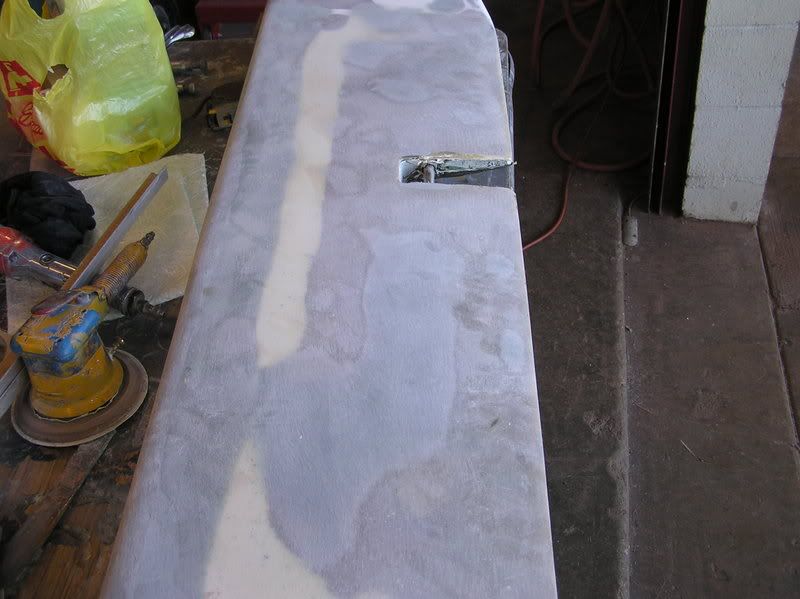
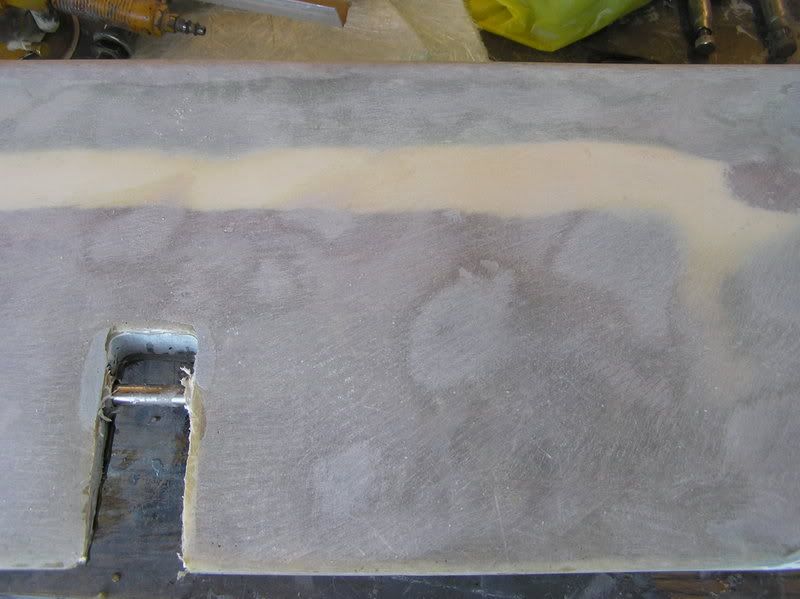
3.5” from the top of the CB I cut out 16.25” x2”. There is also 1 5/8” entry for the piston rod, which operates the board. I will embed a 16” SS tube .062 ID to act as a sleeve for the .5” SS rod that will support the board. I filled the cavity with fiber hair.
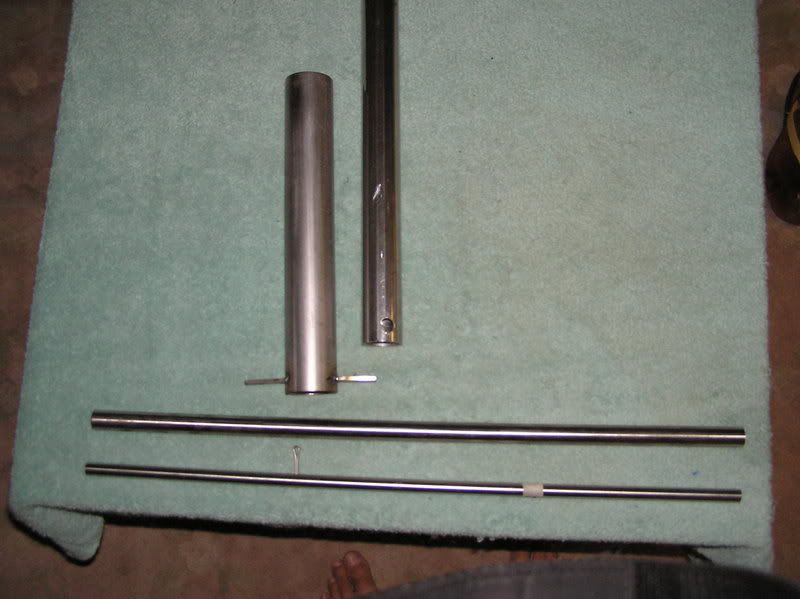
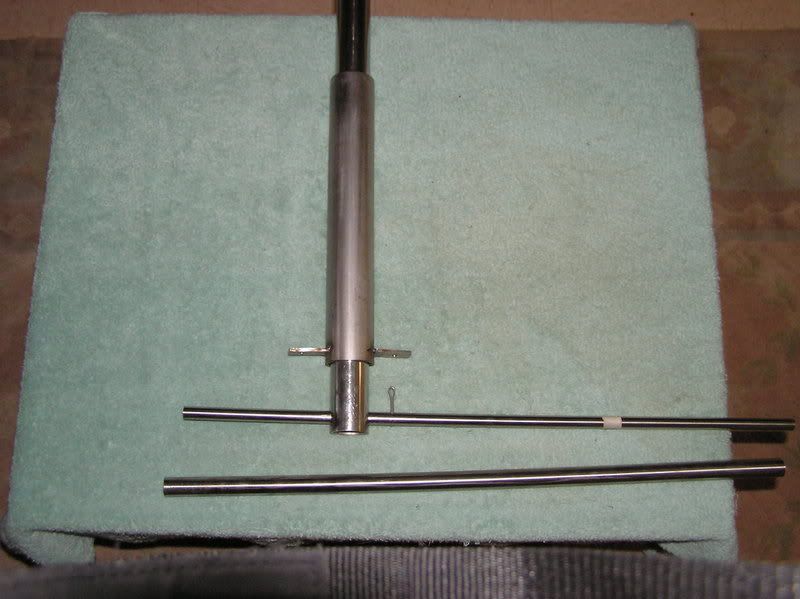
Here is the hardware that I’ll install into the CB and the boat.
Cylinder Sleeve
Piston rod
Hanger sleeve
Hanger rod
Cotter pin
I’ve installed the hardware into the CB. You can see the cam partially open and closed

I have two more steps to complete. First, I’ll fill the board with resin. Second, I’ll cover the CB with two (?) layers of cloth and colored resin.
Holly Smoke, Batman,
As I was filling the CB with resin it ran into the hanger. I had to cut the hanger hardware out. My very good friend, Curtiss, then reset the hardware with mat instead of fiber hair. He enlarged the hardware opening by grinding out some of the fiber hair. The mat makes the connection much much stronger.
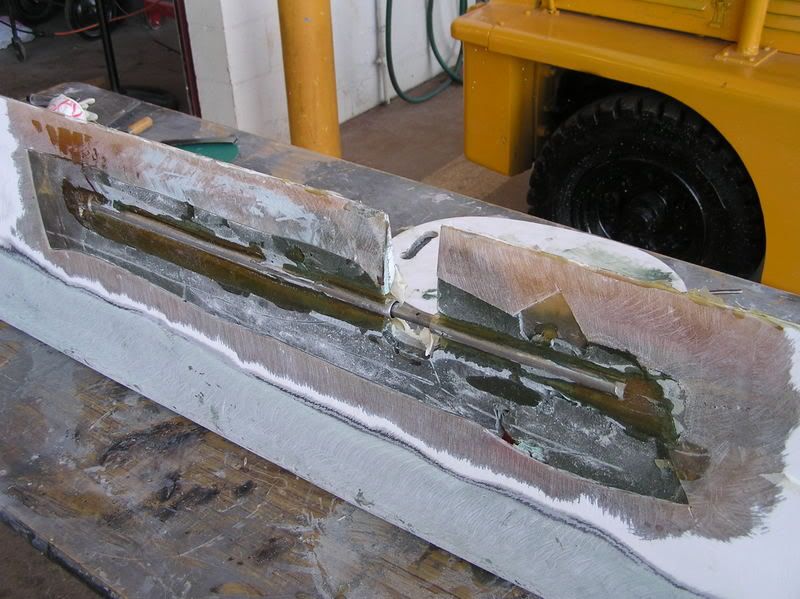
Here’s the mat lay up.
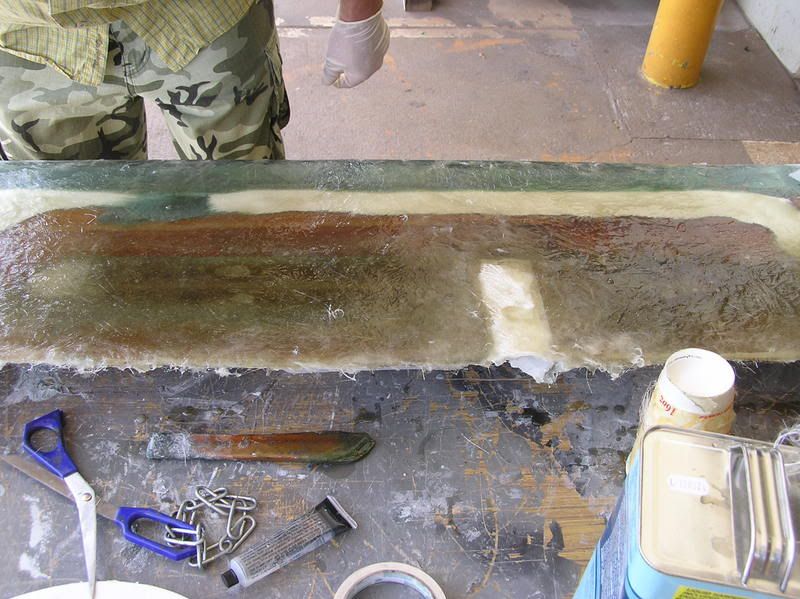
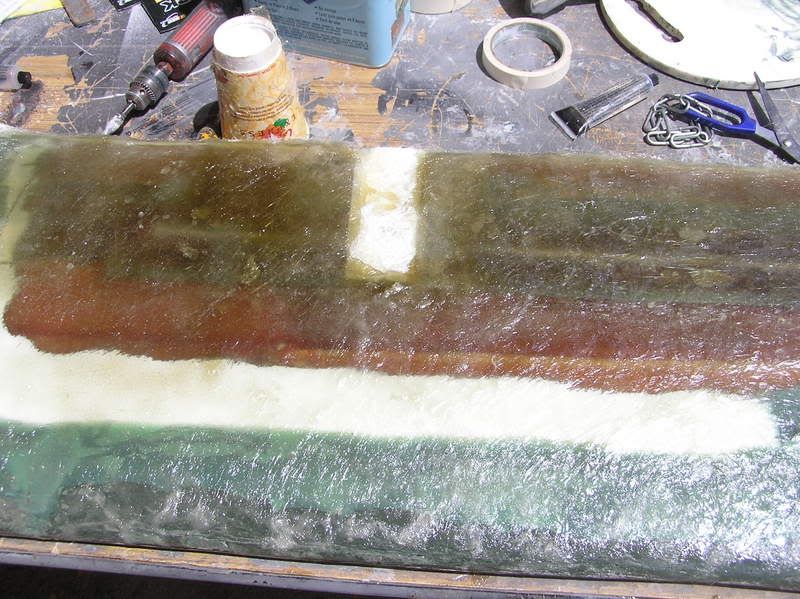

The board has been sanded and is ready for two layers of cloth and red colored resin.
Here the board has been painted red

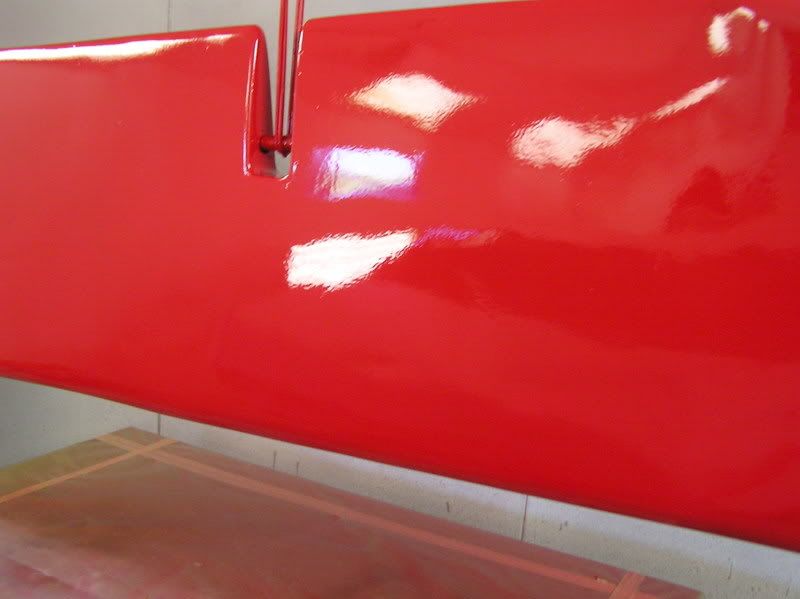
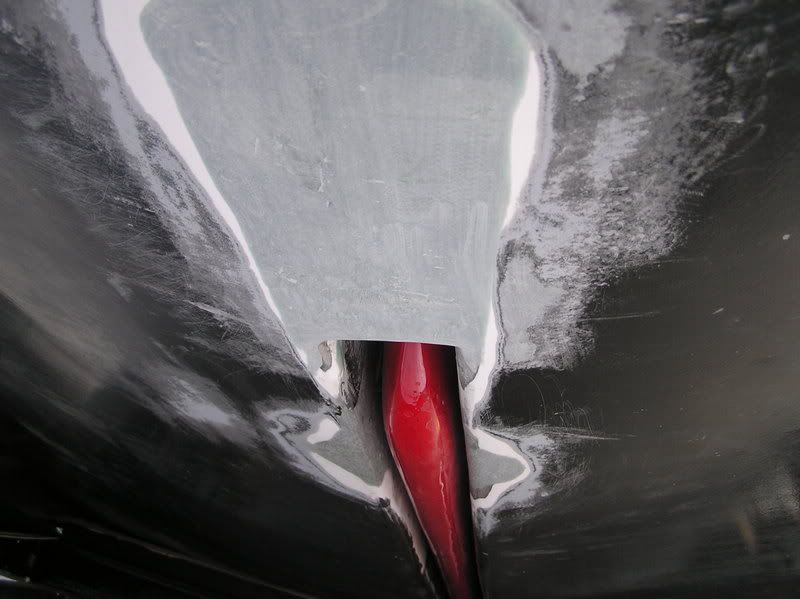
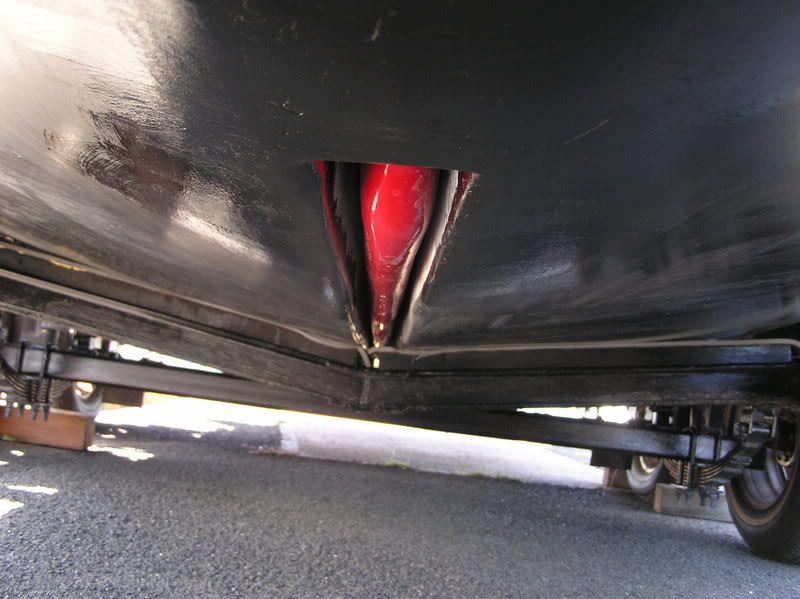
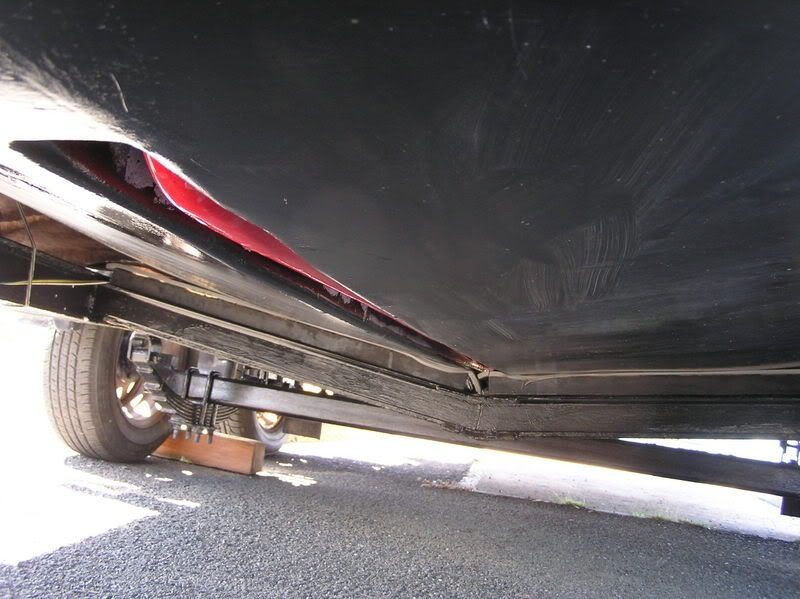
I just installed the board into the trunk. I did not want to jack up the boat, so Curtiss and I put the boat in the water and dove a bit. I am really surprised about the weight. The board is about 65 lbs. on land, but in the water I can hold it with one hand, one finger. That means that there will not be a lot of stress on the mounting mechanism (good deal).
The board is installed. The front section of the CB which I cut off has been fiberglassed into the CB trunk and the indentations of the holding bracket pin have been filled.
Well, there you have it. It’s time to taste the soup.
