Here's a picture of my latest galley mods. I used 1 1/2" aluminum angle iron to make a full length shelf over the counter. On this shelf are my microwave, toaster oven and espresso machine. All appliances are through bolted securely to the shelf. There is no welding. The framework is attached using stainless fasteners. I started with an aluminum angle iron attached to the liner that runs the length of the counter. Each of these appliances can be operated individually using my Honda EU1000. The galley shelf has a dedicated 120 VAC, 15 amp branch with receptacle and ground fault isolator.
~~~~~~~~_/)~~~~~~~~~
Rich Plumb "Plumb Crazy"
26X, Covington WA
Way to go Rich. That has to make weekends a lot more comfortable. I have a galley makeover on my list for next year. I'll sure keep this as a great example of organization.
That would be a good one to put in the Mods Page under Galley.
BTW, where do you run your Honda, deck, dock, cockpit?
Nice job on the Galley I agree .
Now what type of stove is that ?
Where does the gen-set sit when your on the hook ?
minor point , just so you know and not finding fault.
its not ground fault isolator. . .its interrupter .that's ok though some used to say indicator as well . You know, actually all would or could be correct it isolates it from the source and interrupts the flow and indicates there is no potential ???
And I do like what you did for your galley and . . . .I only have a Mr. Coffee 4 cup . thru bolting good job.
I store the Honda EU1000 under the forward starboard dinette seat. When I use it, I set it on the cockpit seat and plug it into my shorepower receptical. I had originally installed brackets on top of the outboard motor to hold the generator, (less vibration, odor and noise out there) but I'm still afraid that it might accidently end up in to the drink. When I go out, I fill the icebox with TV dinners and those frozen breakfast thingies. When selecting a microwave, you need to find a 600 watt model that can be run from the generator (some actually require more than 900 watts to operate). Good luck.
~~~~~~~~~_/)~~~~~~~~~~
Richd Plumb "Plumb Crazy"
26X, Covington WA
The stove is a Wallas 800, combination single burner stove and cabin heater. With the cabin heater hood up as it is in the photo, you can use the single burner stove top. With the hood down, there is a thermostat and fans that circulate the warm air in the cabin. The stove runs on kerosene and 12 VDC. It is fully automatic and uses very little kerosene or electrical power. All combustion fumes and gasses are exhausted outside the boat. On the down side it is very high-tech and rather expensive. I have had problems with it in the past, but after 6 years, I can now field strip and repair it while underway. I created an MS Word document on how to repair it, if anyone already has one and is interested.
~~~~~~~~_/)~~~~~~~~~
Rich Plumb "Plumb Crazy"
26X, Covington WA
I'd love to see a side shot of this mod, to understand how much overhang there is. My concerns would be (1) that there's not enough room to get to the stove properly (stirring pots, taller cooking post, etc.) and (2) that the heat from the stove might build up underneath and affect the items on the shelf above.
Rich,
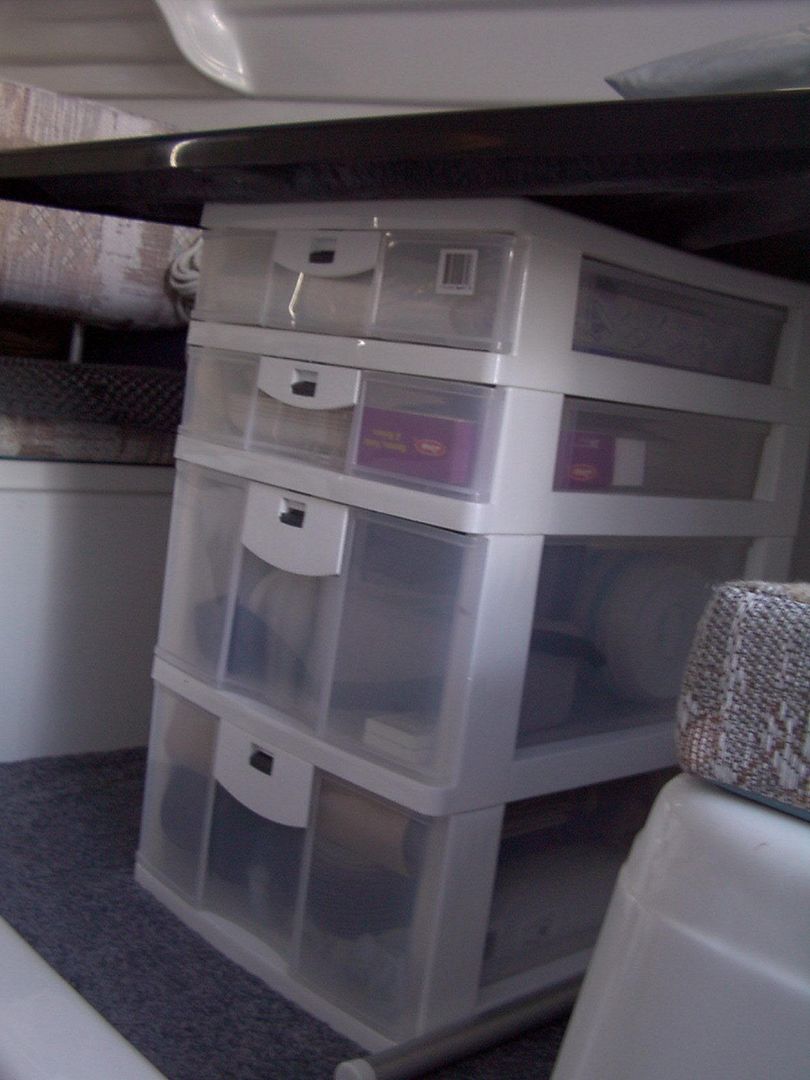
I have a drawer stack of similar design standing under my table. Its built-in spring-catches make it a great choice. I think I bought it at Walmart about six years ago, but have not seen it stocked anywhere recently ... not even sure of the mfg name. Do you recall where you found it?
Notes: The stack is same height as the factory table leg. Yes, using the bottom drawer requires some shoulder-shifting, but the catches work great when heeled.
The shelf height above the stove is about 12 to 13 inches. I needed at least 12" clearance for the cabin heater to fold up and down. I needed to keep the shelf low so that the microwave did not obstruct the window. To mount the microwave, I disassembled it, welded 20 threaded fittings in its bottom pan, reassembled it and then secured it, from below the shelf using 20 bolts. I'll include a couple of more photos to show the back spacing of the shelf. You can also partially see the dual receptacle where all the appliances plug in. Because of the slope of the hull, the actual mounting shelf is spaced out from the liner.
I installed the drawer unit under the galley counter about six years ago when I purchased the boat. I purchased it from Target and removed the bottom large drawer. The front is fastened from behind the counter face panel with "L" brackets and the rear of the drawers are supported by legs glued to the boat's hull.
~~~~~~~~~_/)~~~~~~~~~
Rich Plumb "Plumb Crazy"
26X, Covington WA
Nice, neat, job Rich. I'd like to know
what you used for shelf material, and
how did you fasten the aluminum strip for the upper shelf to the interior hull liner?
No rivets or bolts show up front ot reveal how you fastened the joints of angle together. How did you do that?
I've bought materials for a similar upper galley makeover this fall after some of the heat goes away. The upper shelf would be narrower to avoid possible bruising of head or shoulders while under way. The Admiral and I have different ideas for the lower galley storage, but yours looks nice and functional.
The attachment to the hull liner is accomplished using a continuous length of 1 1/2" aluminum angle iron, that is notched and bent to conform to the hull liner in one place. The fasteners are a number of very short stainless sheet metal screws. In and of itself, that mount is not particularly rigid, but when you combine the attachment at the compression post and the forward leg attached to the end of the counter top using stainless sheet metal screws, the overall structure is very rigid and strong.
The actual shelf is where I had to compromise. I would have liked a lighter, stronger material (The Boeing company uses corrugated aluminum panels for bulkheads in their aircraft, but I could not find that at their surplus store), so I used a standard 12" X 48" shelf from a hardware store. The shelf was then shortened to about 43" to match the counter. Most fasteners on the frame are from the top, so the shelf itself hides those fasteners.
Hope this helps....
~~~~~~~~~_/)~~~~~~~~
Rich Plumb "Plumb Crazy"
26X, Covington WA
Thanks for the details, Rich, that was just what I needed to know. I had it figured out that way, but I'm glad to get your confirmation. I had thought of using rivets as I have before, but in some cases it's too tight to get a rivet gun in, so screws are in order anyway.
After examining your latest photos, I'm wondering if you attached the shelf strip to the upper or lower interior hull liner. I can't be certain from looking at the photos.
That angle iron is attached to the lower hull liner. My earlier shelf featured an aluminum fishplate pattern deck. The size and position of the shelf was pretty much governed by the height and depth of the microwave oven and the space that you want above the cook top. I'd suggest that if you do this, that you go ahead and get the microwave first. I went with 600 watts and simple twist knob controls.
~~~~~~~~_/)~~~~~~~~
Rich Plumb "Plumb Crazy"
26X, Covington WA
Moved the door to far right, to allow for 2x 2 gallon drinking water containers in their own compartment. Remaining space now taken up with 4 deep drawers. Everything now sits on a fiberglass shelf made from bath enclosure material.
The inverter, using 2 additional house batteries, powers our 700 watt microwave, also a 1500 watt ceramic heater when required. Should be able to use our laptop, but haven't tried it yet. All 3 batteries are clustered in the regular battery location.